Chicken Fried Rice

Fried rice is one of those dishes that tastes wonderful and can be a vehicle for many different ingredients. It is a common dish in Asia because it is so versatile, inexpensive, and delicious. It is a great way to use up leftovers or vegetables that are starting to get a little old. We went pretty traditional as we had leftover basmati rice, a whole cooked chicken, and carrots that needed to be eaten. The sesame oil and soy sauce provide the flavor and frying the rice gives a nice mix of textures. Because it is a simple dish to make, it is a great weeknight meal or it can also be used as a side dish if you prefer. We only used two eggs, but the next time we make it, we’ll probably do three eggs instead. It was truly delicious.

Carrots, Celery, and Scallions

INGREDIENTS

  •  2 tbsp Vegetable Oil
  •  1 tbsp Sesame Oil
  •  5 tbsp Soy Sauce
  •  1 tbsp Fresh Ginger – grated
  •  3 cups Basmati Rice – cooked and dry
  •  1 cup Cooked Chicken – cut into bite-size pieces
  •  1 cup Carrots – diced
  •  1/2 cup Celery – diced
  •  3 Scallions – white and light green parts chopped, the green part cut thinly on a bias to use as garnish
  •  2 cloves Garlic – minced
  •  2 Large Eggs
  •  Salt and Pepper to taste
Sauté the Vegetables, Ginger, and Garlic
Frying the Rice

INSTRUCTIONS

Whisk the eggs and set aside. Heat the vegetable oil in a cast-iron skillet over medium-high heat. Add the carrots to skillet and simmer until slightly softened, about 3 to 4 minutes. Add the celery, garlic, and ginger and continue simmering for another 3 to 4 minutes, being sure not to let the garlic burn. Add the rice as well as the white and light green parts of the scallion to the skillet. Add the soy sauce and sesame oil, stirring to coat the rice. Using a spatula, gently press the rice mixture down against the bottom of the skillet. Fry until the rice on the bottom begins to crisp, about 3 to 5 minutes. Stir in the chicken and cook for 1 to 2 minutes to heat the chicken. Add the eggs and continue to stir the rice mixture until the eggs are set, about 1 minute. Transfer to a serving dish or to individual plates and sprinkle the green scallion over top.

Adding the Chicken
Stir in the Eggs
Chicken Fired Rice


Hot Chocolate with Peppermint Schnapps

There is something so comforting about having a nice warm drink on a cold winter day. The combination of peppermint schnapps and hot chocolate is often called a “Snuggler” because of the warm hug that it gives to your inner body. We first had this in Aspen, many years ago and it is definitely one of our favorite winter drinks. Schnapps is not a particularly strong alcohol, so it is definitely a drink that you don’t need to feel guilty about having. The pairing of hot chocolate and peppermint is obviously a delicious one and this will definitely put a smile on your face. We added some peppermint bark (dark chocolate, white chocolate, and peppermint… yum). We originally shared this recipe four years ago, but we decided it was time to share it once again. We hope you enjoy it as much as we do.

Make Your Own Whipped Cream

INGREDIENTS

  • 2 cups Whole Milk (2% or skim, your preference)
  • 6 tbsp Cocoa Powder
  • 4 to 6 tbsp Peppermint Schnapps
  • 1 cup Heavy Whipping Cream
  • 1 tbsp Granulated Sugar
  • 1 tbsp Confectioner Sugar
  • 1 tbsp Vanilla Extract
Hot Chocolate

INSTRUCTIONS

Heat the milk in a saucepan over medium-low heat (do not bring to a boil). Whisk in the cocoa powder until it is thoroughly mixed. In a cold bowl, combine the whipping cream, sugars, and vanilla extract. Whip until soft peaks form. Pour the hot chocolate and schnapps into a mug and top with whipped cream. Serves 2.

Snuggler with Whipped Cream
Whipped Cream Topping
Snuggler with Peppermint Bark


Taking a Cooking Class in Hanoi, Vietnam

One of our favorite memories of our recent trip to Vietnam was taking a cooking class in Hanoi. This was a true cooking class, not a demonstration, where we purchased the food from a local market, prepped all of the ingredients, and did the cooking ourselves with our chef’s instruction. There were only five of us in the class, making it very intimate and interactive. We created a four course meal, which we enjoyed eating family-style after cooking everything.

Cooking Pork Meatballs and Barbequed Pork
Ingredients for the Spring Rolls
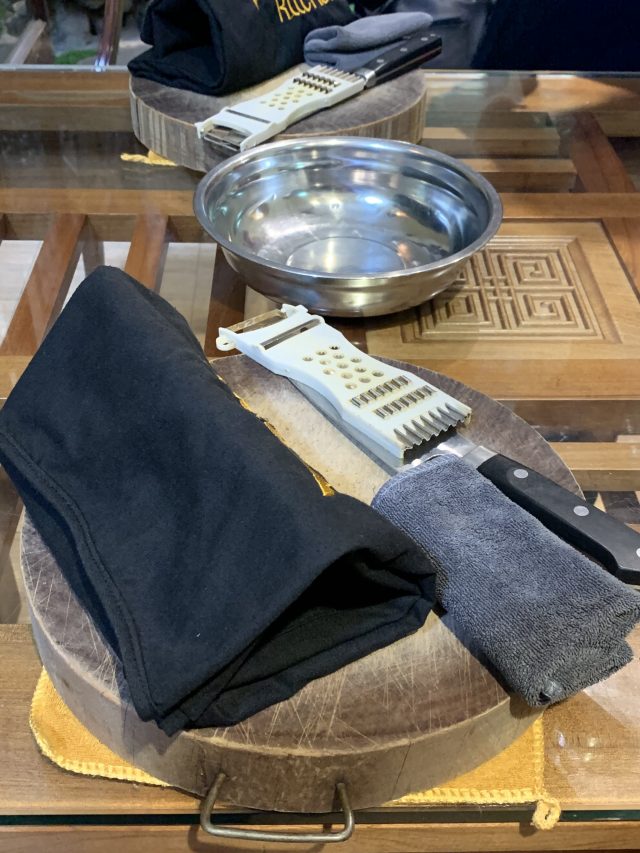
Each Cooking Station
Setting the Table
Banana Flower Salad

After buying our ingredients, we went to a local house to prepare our meal. Our dinner included Banana Flower Salad (Nộm Hoa Chuối), which we made from banana leaves, a variety of vegetables, and sautéed beef. Our entrée was Vietnamese Grilled Pork With Rice Vermicelli Noodles (Bún Chả), which originated in Hanoi is a famous dish in the region. We made it with both pork meatballs as well as barbequed pork. To accompany the Bún Chả, we made Vietnamese Fried Spring Rolls (Nem Rán), which are often served as an appetizer as well. For our dessert, we made Vietnamese Egg Coffee (Café Trứng), which is rich and delicious and is made with egg and condensed milk.

Frying the Spring Rolls
Making Egg Coffee
Ingredients for the Pork Meatballs
Finishing the Banana Flower Salad
Spring Rolls Before Frying Them

It took about five hours to do our shopping, prepping, and cooking, so we were quite hungry by the time our meal was actually ready. The class is offered in both the morning to create lunch or in the afternoon to create dinner, but we chose to do the dinner class and were glad that we did. Our chef was extremely knowledgeable and shared stories with us while we prepared our meal. It is an experience that we would highly recommend to anyone who visits Hanoi. After completing the class, the chef sent us all of the recipes that we made as well as others, which we are looking forward to cooking and sharing in the near future.

Whisking the Egg and Condensed Milk for the Egg Coffee
Meatballs Ready for the Grill
The House Where We Cooked
Vegetables for the Banana Salad
The Room Where We Prepared the Meal
Soaking the Banana Leaves